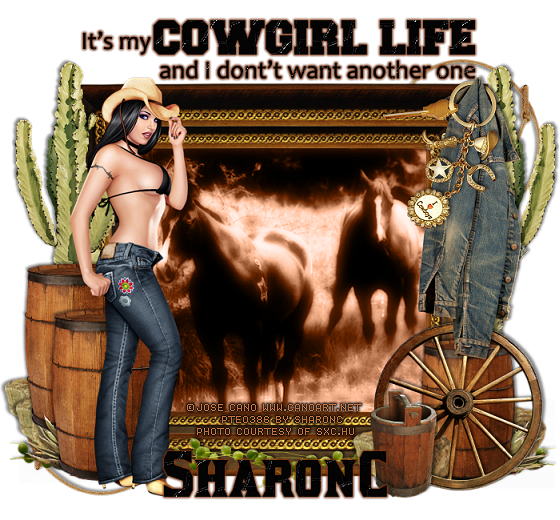
This tut was written for those with a basic knowledge of psp.
I am using the awesome artwork of Keith Garvey. You need a license to use this art work. Please do not use without a license. My license was when he was at MPT but they have closed now.
You can find his art at PTE HERE
Scrap kit used is by Fantasy Dreams Designzs
called Snow Time a mini freebie she offers, and you can get it at her blog HERE and her home page is HERE
Template used from Candydelicious Designz and you can get it HERE
WSL Mask84 and you can get it HERE
Font I used was DomBold BT comes with psp
called Snow Time a mini freebie she offers, and you can get it at her blog HERE and her home page is HERE
Template used from Candydelicious Designz and you can get it HERE
WSL Mask84 and you can get it HERE
Font I used was DomBold BT comes with psp
Supplies Needed
I used PSPX...but any of them should work.
Drop Shadow V2 H2 50 5
Filters used
PhotoEffex-Scanlines
xero filters- Porcelain and Mistifier
EyeCandy 4000-Gradient Glow
EyeCandy 5 Impact-Chrome
Ok Let's get started
Open the template and shift D to duplicate and close the orginial one. Copy and paste paper #9 and apply WSL mask 84, delete and merge group, move below template. On the Black circle and white circle we will be using paper #7, or paper of your choice. On each do the select all, float, defloat, copy and paste, then invert and delete. Delete both parts of the template now also. The red rectangle, select, float, defloat, add a new raster layer and select a dark and light color from your tube and make a gradient, with angle 45, repeat 7, flood fill and now apply Photo Effex-scanlines, delete that layer of the temp. On each one of theses I added a medium gradient glow with the color then the white and then added a drop shadow.
Now on both green squares, select, float, defloat, copy and paste paper #4 or one of your choice, invert and delete. Do Not deselect yet, copy and paste your close up on one and delete the excess. Mirror your close up and copy into the other green square and delete excess. Apply xero porcelain twice, then mistifier to both, both filters on default settings. Copy and paste your tube and mirror and position into place behind the wordart, refer to my tag. Copy and paste the pink tree and place to the left just behind the feet of the tube, add your drop shadow. Element E-15 resize 50% and place to the right on the template behind your tube and erase the cord on it, add your drop shadow. On the grey frames I used EyeCandy 5 Impact-Chrome and recolored it with the change to target brush with my gradient from before. On the red Christmas wordart, select all, float, defloat, add a new raster layer, flood fill with a color from your tube, select none and delete the red wordart. Add your drop shadow to the white wordart background. On the 2 black wordart, I added the medium gradient glow to them and added the drop shadow. Take Element E-132 and resize 50% and place behind your tube toward the bottom a bit and behind the tree also, add your drop shadow. Close off any backgrounds you might have and merge all visible and resize before you add your copyright.
Now add your copyright and name and you are done.
Hope you have enjoyed doing my tut.
Thank you
Hugs SharonC
Now on both green squares, select, float, defloat, copy and paste paper #4 or one of your choice, invert and delete. Do Not deselect yet, copy and paste your close up on one and delete the excess. Mirror your close up and copy into the other green square and delete excess. Apply xero porcelain twice, then mistifier to both, both filters on default settings. Copy and paste your tube and mirror and position into place behind the wordart, refer to my tag. Copy and paste the pink tree and place to the left just behind the feet of the tube, add your drop shadow. Element E-15 resize 50% and place to the right on the template behind your tube and erase the cord on it, add your drop shadow. On the grey frames I used EyeCandy 5 Impact-Chrome and recolored it with the change to target brush with my gradient from before. On the red Christmas wordart, select all, float, defloat, add a new raster layer, flood fill with a color from your tube, select none and delete the red wordart. Add your drop shadow to the white wordart background. On the 2 black wordart, I added the medium gradient glow to them and added the drop shadow. Take Element E-132 and resize 50% and place behind your tube toward the bottom a bit and behind the tree also, add your drop shadow. Close off any backgrounds you might have and merge all visible and resize before you add your copyright.
Now add your copyright and name and you are done.
Hope you have enjoyed doing my tut.
Thank you
Hugs SharonC