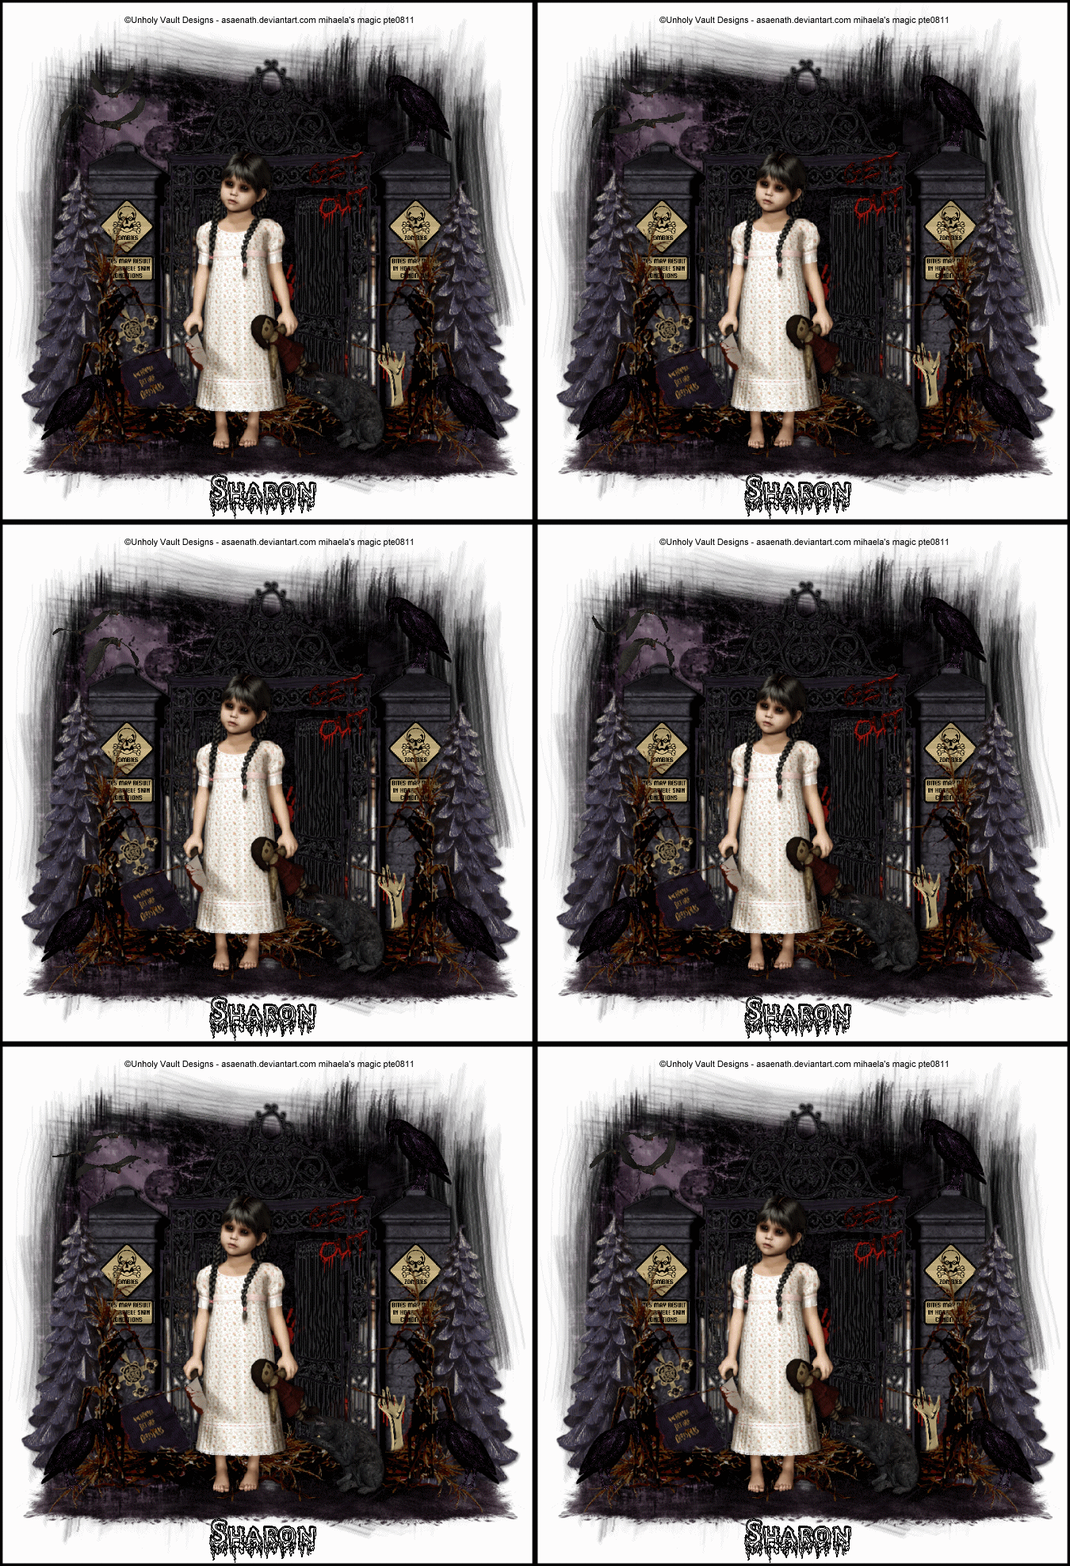
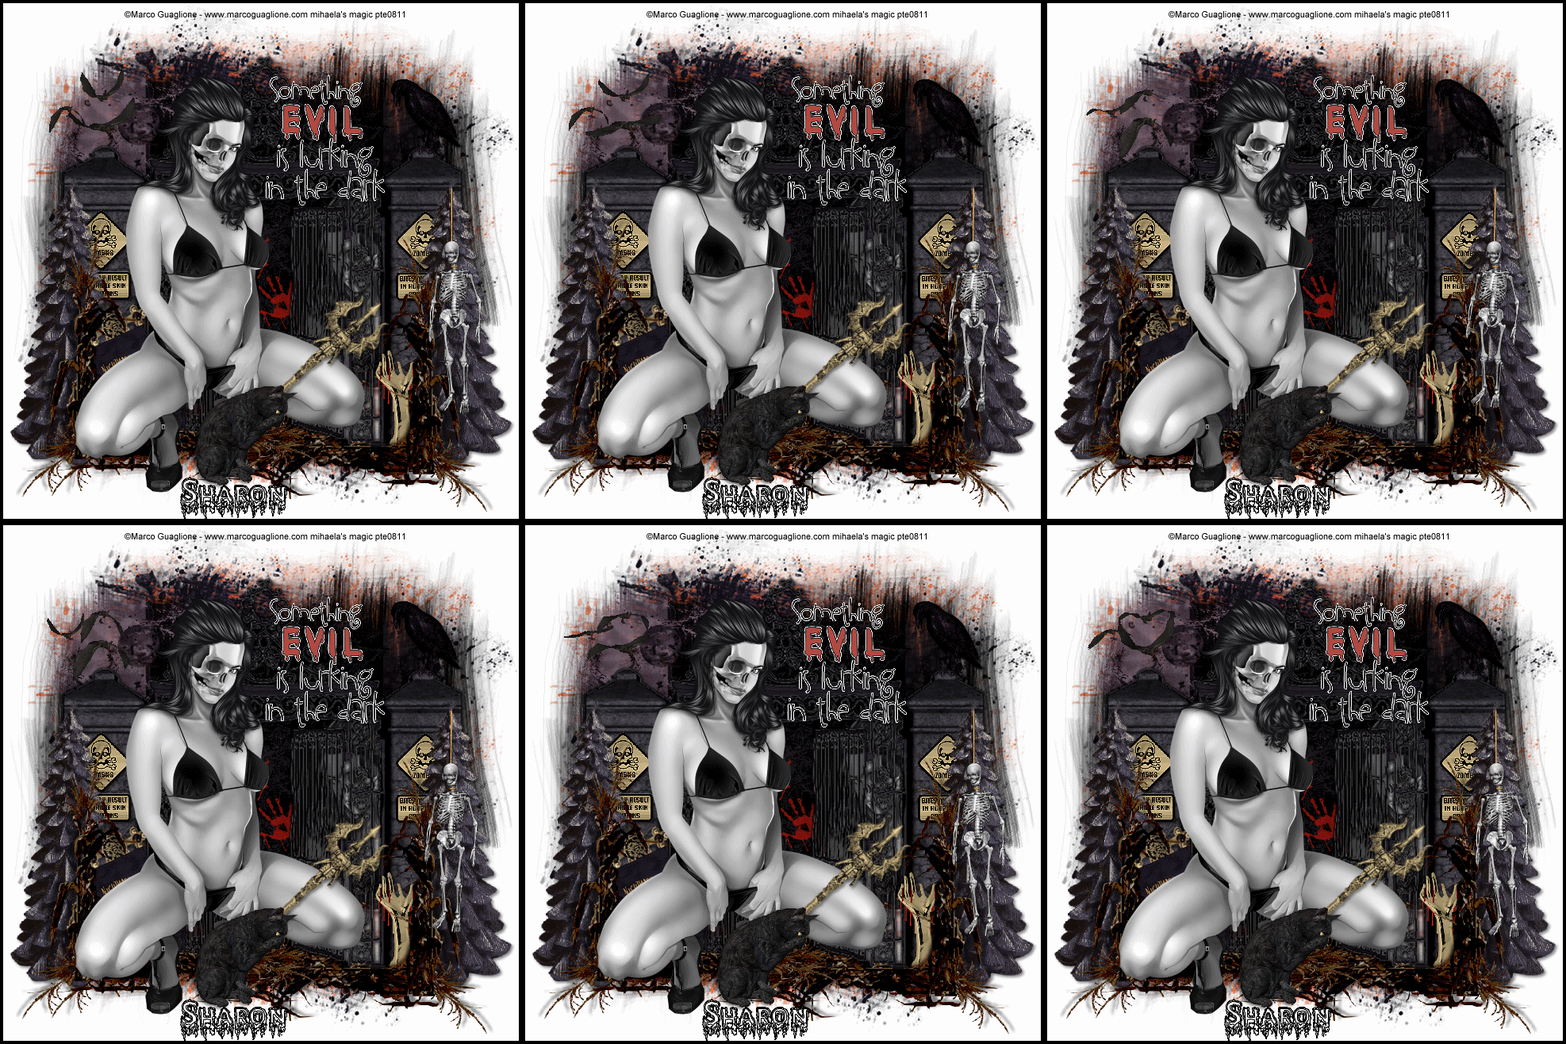
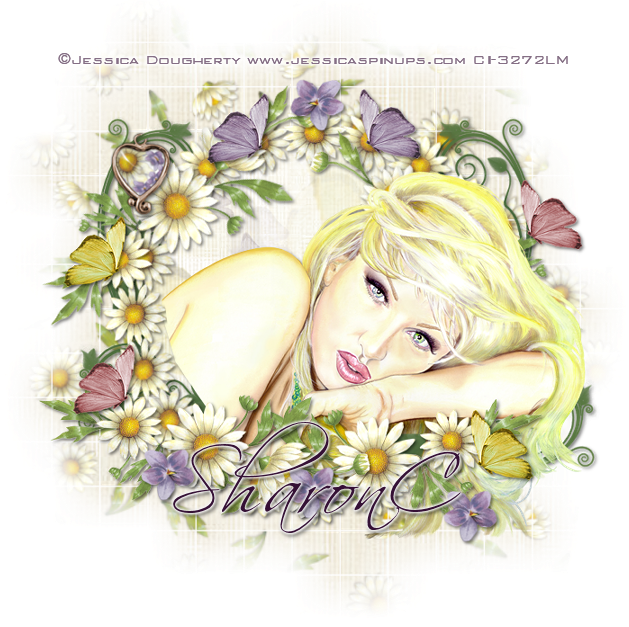
This tut was written for those with a basic knowledge of psp.
I am using the awesome artwork of Katerina Koukiotis.
You need a license to use this art work. Please do not use without a license.
You can find this art at PSP Tube Stop HERE
Supplies Needed
I used PSPX...but any of them should work.
Filter Factory N-Wee Scratches
PhotoEffex-Scanlines
Xero Filter-Clarity
Mura Meister-Copies
Xenofex2-Constellation filter(optional)
Wordart HERE
Scroll down some
Font Lucida Sans Unicode comes with psp
Filter Factory N-Wee Scratches
PhotoEffex-Scanlines
Xero Filter-Clarity
Mura Meister-Copies
Xenofex2-Constellation filter(optional)
Wordart HERE
Scroll down some
Font Lucida Sans Unicode comes with psp
Drop Shadow usually V2 H2 50 5
Let's get started
Open a new image 600 x250 and fill with a gradient color from your tube.
Foreground being the darker color and the background the lighter color. Then gradient angle 45, repeat of 3.
Paste your tube and mura meister filter, wallpaper rotate at default setting.
Then apply Filter Factory N-Wee Scratches at 255
Apply PhotoEffex-Scanlines, change the width to 5 and the noise amount to 50, all else at default setting.
Paste your tube and move over to one side or the other, duplicate and move up and over so the skirt is showing more and change the blend mode to screen, this one should be below the other tube.
Apply the Xero Filter-Clarity and then the drop shadow on your main tube, I used V-2, H-2, 50, 15 and the dark color from the tube.
Resize your wordart to 25% and paste on the other side.
Then select all, float, defloat, new raster layer, fill with white, then another new raster layer, expand by 2 and fill with a darker color from your tube, add noise at 50% and move below the white layer, delete your wordart now.
Take your pen tool and change your line style to diamond and width to 5, hold down your shift key and draw a line across, change to raster layer, duplicate and flip, move both behind your tube layer.
Merge visible, select all, new raster layer, fill with white, contract by 2, delete. Add a new raster layer again, fill with the darker color, contract by 2, delete and select none.
Once happy with it all, merge visible and add your copyright and name.
On the name I did the wee scratch on the top layer.
If you want to animate the flower, take your free hand selection tool and draw around the flower. Apply the Alien Skin-Xenofex2- Constellation filter with these settings
2.49, 3, 3, 7, 100, 100
select none and
Copy merged layer and paste into animation shop.
Come back to psp undo the select none and undo the constellation, then apply constellation again, but hit the random seed. Take to animation and paste after current frame.
Go back to psp and do all this one more time and back to animation. You should have 3 frames. Test your animation and if happy save your tag.
Now for the Avator
Open a new image 150 x 150
Copy and paste your finished tag and resize to 85% and mirror and move a bit into place, merge visible and do the frame as before.
Add your copyright and license # and name or initial.
If you want to animate the flower, do the same as before.
Hope you enjoyed doing this tut.